Why rooting defines tomato development under cover
Strong rooting in greenhouse tomatoes is the foundation of a productive crop. A well-developed root system, with white and active roots, favours the uptake of water and nutrients, helps the plant tolerate stress better and contributes to balanced above-ground growth. In greenhouses, where the environment can be managed but humidity and heat also accumulate, rooting management makes the difference between a well-resolved transplant and a weak plant that drags problems along throughout the whole cycle.
This step-by-step guide is aimed at growers, agronomists and technical advisers seeking to optimise tomato rooting under cover, both in soil and in substrates such as coconut fibre. It covers the process from seedling selection to verification of rooting, with practical recommendations applicable in Latin American and European conditions. The aim is to prioritise white, active and well-distributed roots before accelerating above-ground growth, laying the foundations for a healthy and productive plant.
Tomato is a horticultural crop of great importance and its greenhouse production makes it possible to obtain quality fruit during much of the calendar. However, success depends to a large extent on good initial establishment. Poor rooting usually translates into stunted plants, greater sensitivity to problems during the cycle and a lower capacity to recover from adverse factors. Paying attention to this phase is an investment that has an impact on final yield, although no management practice can guarantee it completely.
The guide orders the process into concrete steps and offers decision criteria at each one. It should be read as a general framework: the exact values for temperature, humidity, irrigation and fertilisation depend on the variety, the growing system, the climate and the water, and must be confirmed by the technician and the label of each product. Achieving strong rooting in greenhouse tomatoes does not depend on an isolated action, but on the sum of coherent decisions from the seedbed to the first weeks in the greenhouse.
What it means to have good roots
A healthy root is recognised by its light colour, its neutral smell and its abundant branching. White tips indicate active growth, and uniform distribution throughout the available volume indicates that the medium allows exploration without barriers. Conversely, brown, sparse roots with a bad smell or concentrated in a single spot usually point to problems with aeration, salinity or water management. Learning to look at the roots, and not only at the above-ground part, is the most useful habit for anyone who wants to improve rooting.
First step: seedling selection and root quality
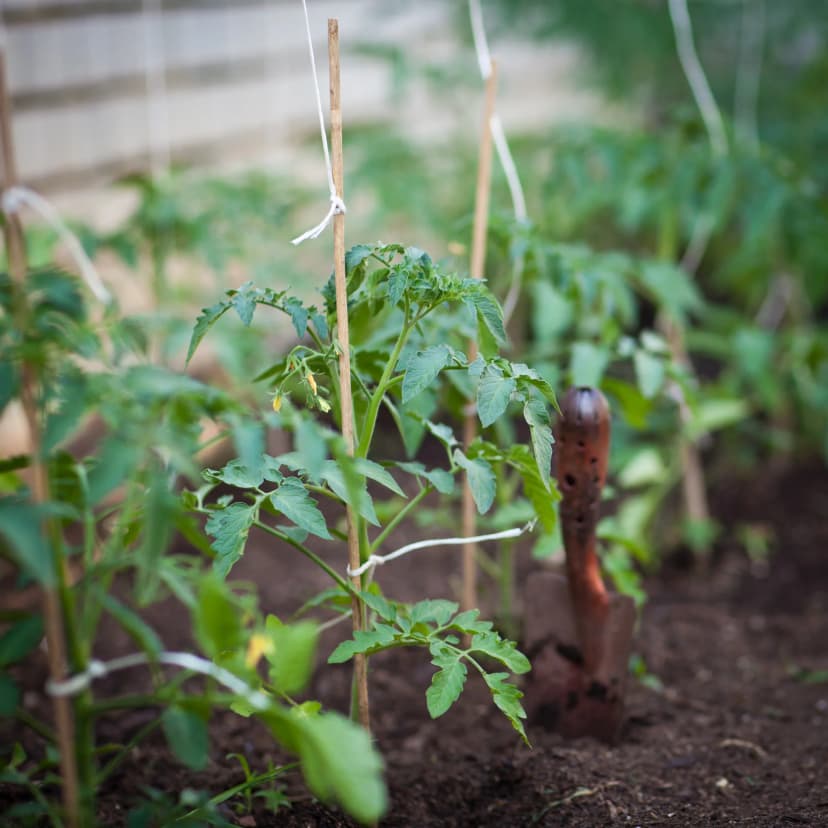
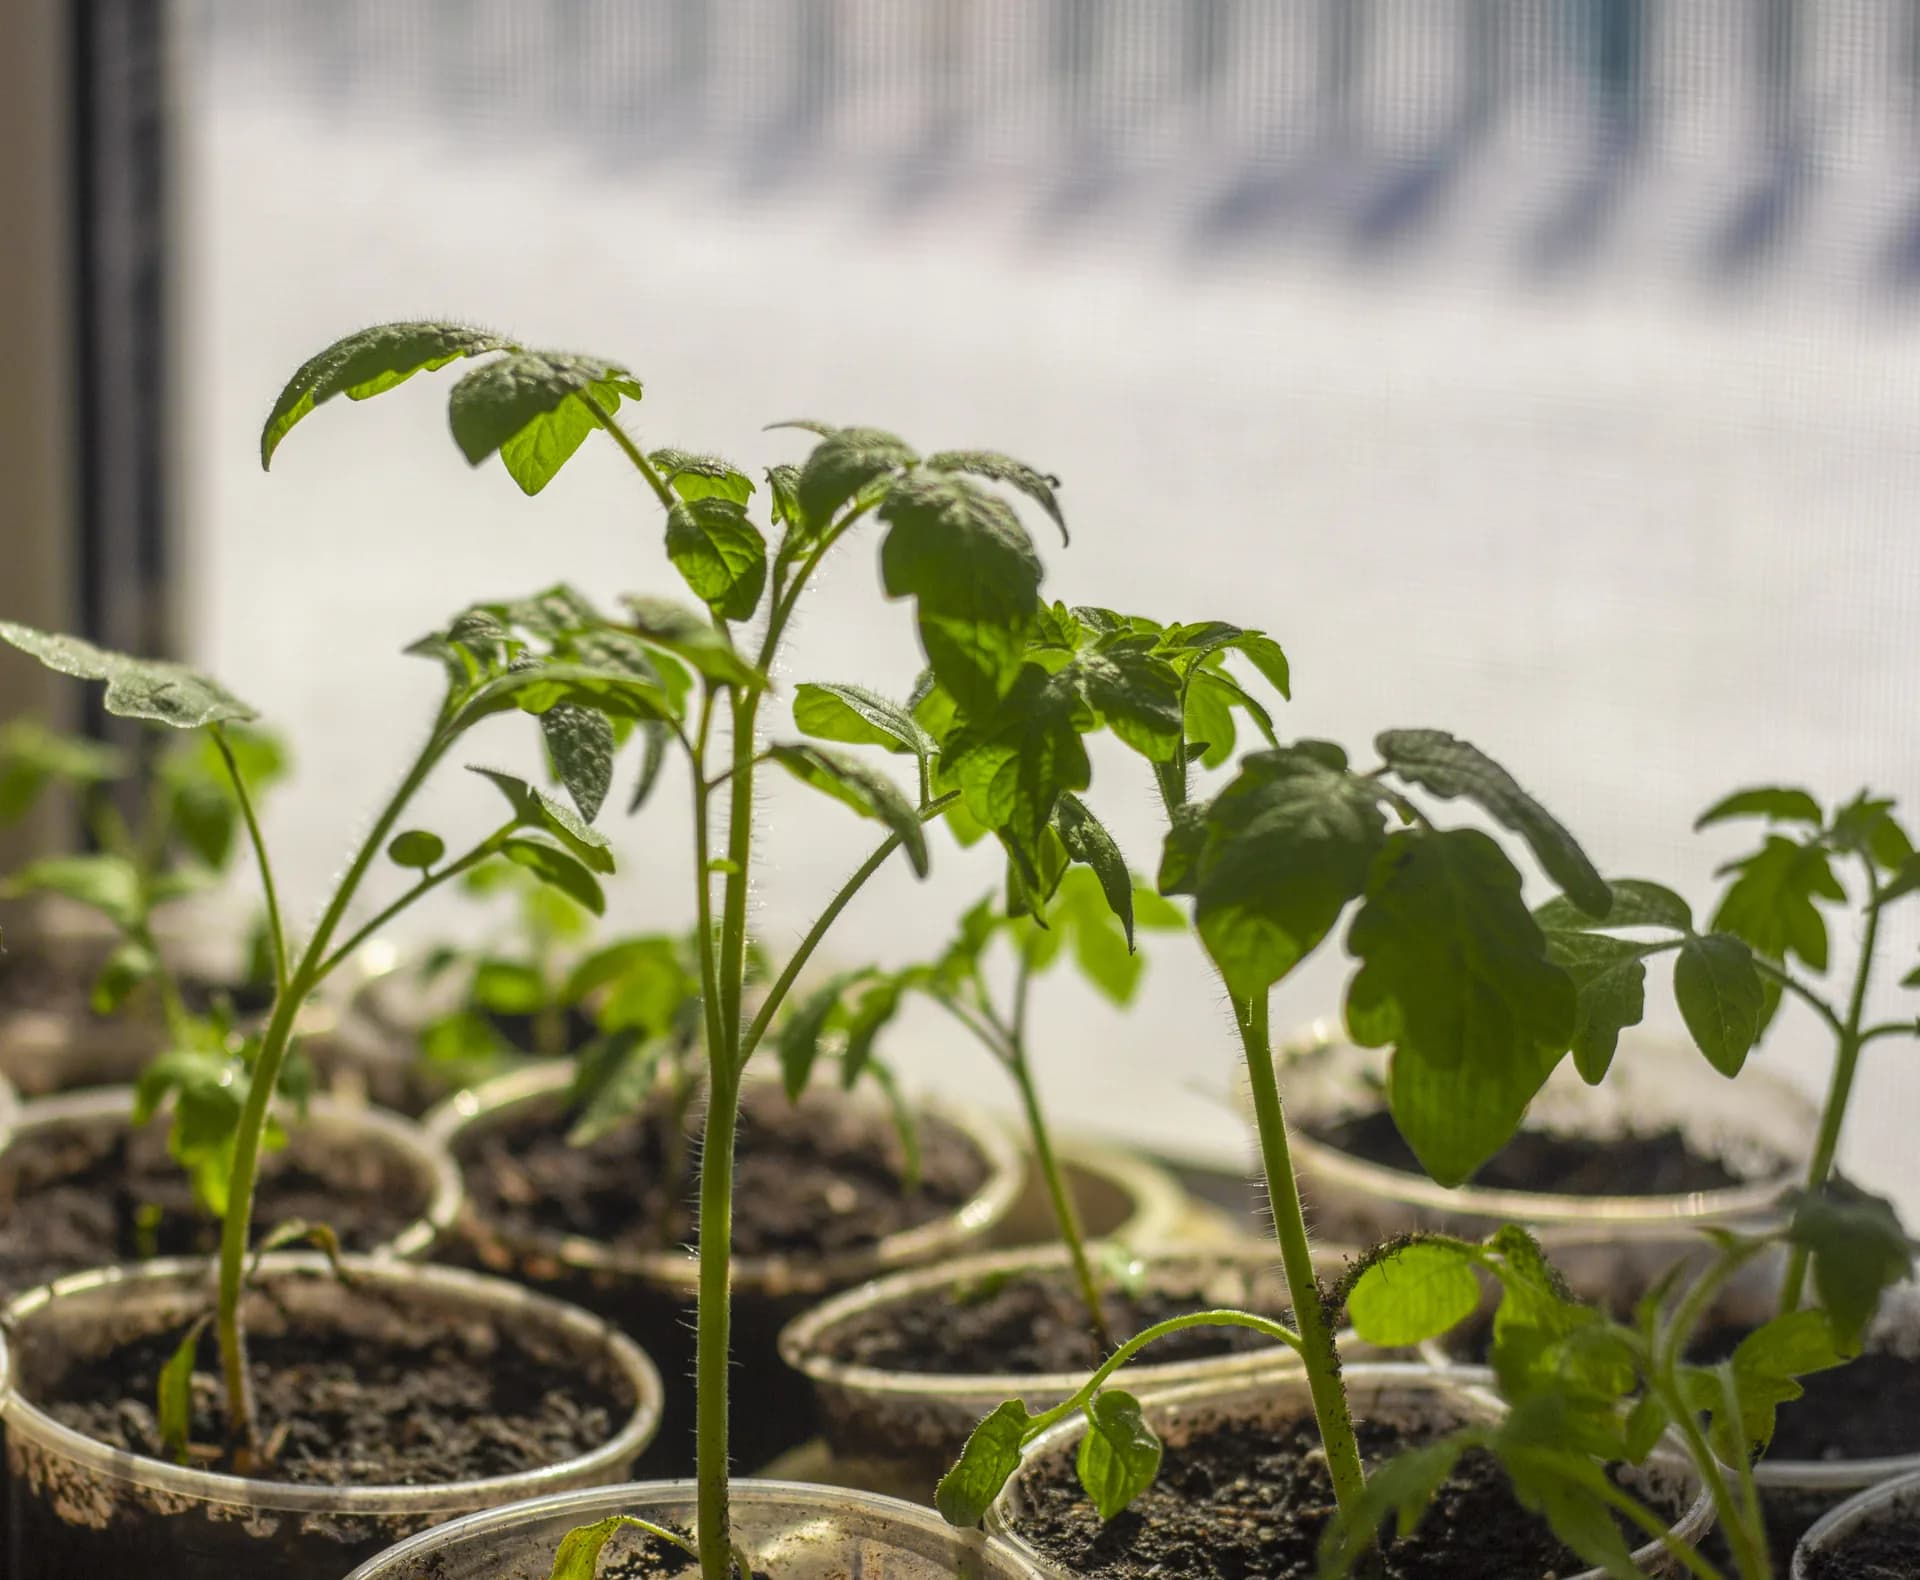
The first step to achieving strong rooting in greenhouse tomatoes is to start with quality seedlings. Select uniform, healthy plants, with true leaves appropriate to their age, a compact stem and white roots with no odour or brown areas. Uniformity makes subsequent irrigation and fertilisation management easier, since all plants will have similar demands. Avoid seedlings with tangled, brownish roots or the presence of algae, which usually indicate aeration problems or excess moisture in the seedbed.
The size of the cell in the seed tray influences the quality of the root system. In general terms, it is advisable to choose larger-volume cells when the seedling stage is prolonged or the climate is colder, as they allow greater root development before transplanting. Smaller cells are useful when early transplanting is sought and a short cycle is planned. The choice depends on the crop schedule and local climatic conditions, so it is recommended to adjust it according to experience and production objectives.
Before transplanting, carry out a visual inspection of the root ball. A well-formed root ball should hold its structure when removed from the tray, with white roots occupying the available volume. If you observe brown roots, bad odour or the presence of mould, discard those seedlings. The health of the planting material is a critical point in order not to introduce problems into the greenhouse.
Criteria for accepting or rejecting a batch of seedlings
- Plants of uniform size and compact stem, without excessive stretching.
- White, abundant roots with no unpleasant odour.
- Root ball that retains its shape when taken out of the tray.
- Leaves without spots, deformations or striking discolouration.
- Root ball substrate moist, but not waterlogged.
- Information from the seedbed on the substrate, irrigation and prior management.
If the batch does not meet these criteria, it is preferable to request a replacement before planting. It is much easier to correct a problem in the seedbed than to carry it through the entire greenhouse cycle.
Second step: preparation of the soil or substrate
Preparing the growing medium is decisive for rooting. In soil, correct drainage, salinity and compaction problems before transplanting. A well-structured soil with adequate porosity favours root exploration and prevents waterlogging that suffocates the roots. If the soil has compacted layers, carry out deep tillage or subsoiling to break them up. Likewise, check salinity by means of analysis and, if it is high, plan a prior leaching with abundant irrigation.
The incorporation of organic matter is a recommended practice for improving soil structure and biological activity. The organic fertiliser must be well decomposed to avoid phytotoxicity problems. It is suggested to incorporate it in advance of transplanting, so that it has time to integrate and stabilise. The amount will depend on the soil analysis and the quality of the organic material, so it is recommended to adjust it with technical advice.
In substrates such as coconut fibre, ensure that the material is correctly hydrated and has an adequate pH and electrical conductivity. Coconut fibre must be washed and buffered before use to avoid nutritional imbalances. Carry out a prior analysis of the substrate and the irrigation water to adjust management. A substrate with good aeration and water retention is essential for the development of healthy roots.
Analyses worth having before planting
- Soil or substrate analysis: pH, electrical conductivity, organic matter and available nutrients.
- Irrigation water analysis: salinity, hardness and content of elements that may affect management.
- Drainage check: verify that water does not stagnate in any area of the greenhouse.
- State of the structure: check that there are no compacted layers that slow down the root.
With this information, the technician can decide whether it is necessary to correct, leach, amend or adjust the irrigation programme before receiving the seedlings.
Third step: transplanting and contact between root and substrate
The moment of transplanting is critical. Before planting, hydrate the root ball completely, but without leaving it waterlogged. A saturated root ball can break apart and damage the roots, whereas one that is too dry does not integrate well with the medium. Plant at the depth indicated by the technician for your system, avoiding covering the crown of the plant, as this can encourage health problems. Ensure intimate contact between the roots and the medium, pressing gently around the plant.
Carry out a settling irrigation by drip immediately after transplanting. This irrigation helps to displace air pockets and to establish contact between the root and the medium. If some plants are left far from the dripper, carry out a complementary localised irrigation to moisten evenly. Avoid excess water, which can cause waterlogging and root asphyxia. The aim is for the medium to be moist, but not saturated.
In soil systems, the settling irrigation should wet the profile down to where the roots are expected to explore initially. The depth will depend on the type of soil and on the irrigation management, but the aim is to moisten the root zone without leaching nutrients. In substrates, monitor drainage to avoid the accumulation of salts and a lack of oxygen.
Common mistakes during transplanting
Among the most common mistakes are planting with a very dry or very waterlogged root ball, burying the crown of the plant, leaving air pockets around the roots, transplanting during the hottest hours and overwatering for fear that the plant will dry out. Planning the transplanting for the coolest hours of the day and preparing the settling irrigation in advance helps to avoid most of them.
Fourth step: managing the microclimate and irrigation during establishment
During the first days after transplanting, microclimate management is essential. Maintain a mild, stable temperature, without extremes, and a high relative humidity but one that is compatible with good air circulation; the specific values are set by the technician according to the variety and the area. Ventilate when the heat increases, to avoid condensation and root asphyxia. In tropical or coastal climates, use overhead ventilation, shading and more frequent but brief irrigations. Condensation on the leaves encourages health problems, so it is important to maintain good air circulation.
Irrigation during establishment must be careful. Start with short, spaced-out irrigations, with the aim of drawing the roots towards the available volume, not of keeping the substrate saturated. In coconut fibre, monitor pH, electrical conductivity and drainage; the drainage percentage is adjusted to radiation, climate and water analysis, following the technician's irrigation plan. In soil, adjust the frequency and duration according to texture and water-holding capacity.
Avoid excessive water stress, but do not keep the substrate permanently waterlogged either. Balance is key: roots need oxygen to breathe and water to absorb nutrients. Observing the plant and the substrate will tell you whether the irrigation is appropriate. If the leaves wilt, water may be lacking; if brown roots or algae appear, there is an excess.
How to interpret what the plant shows
A plant that wilts in the middle of the morning may be asking for water, but it may also be suffering from a lack of oxygen at the root or from excess salts, and the three situations look very similar from the outside. Before changing the irrigation, check the actual moisture of the substrate, the drainage and the appearance of the roots. Recording the readings from each irrigation, even in a notebook, helps to detect trends and to correct with judgement.
Fifth step: biostimulation and nutrition for strong rooting
Fertilisation should begin after observing root activity, avoiding high salt concentrations during the first days. Subsequently, increase nutrition gradually, paying attention to the balance between nitrogen, phosphorus and potassium. Total amounts for greenhouse tomatoes should be set through analysis and fertigation, with the help of the technician, and not on the basis of generic ranges. An excess of salts at this stage can damage young roots and delay establishment.
Biostimulation with products based on natural extracts, beneficial microorganisms or bioactive compounds can contribute to root development. Organic agricultural biostimulants are intended to support nutrition efficiency and tolerance to abiotic stress; their results depend on the crop, the soil, the water and management. It is important to use authorised products and follow the manufacturer's recommendations, and not to expect more from them than their technical data sheet indicates.
Fulvic acids, for example, are associated with improved soil structure and better nutrient utilisation, which can support root growth. Their application in fertigation during the early stages is a widespread practice. Likewise, micronutrients such as zinc and iron play a part in root development, although they must be applied at the appropriate doses to avoid toxicities. Consult your technical adviser to design a biostimulation plan adapted to your crop, and remember that strong rooting in greenhouse tomatoes is built above all with a good medium, good irrigation and good seedlings.
In organic production systems, it is essential to use products accepted by the producer's certification system or by the equivalent local regulations. Ecoganic offers certified organic fertilisers and organic agricultural biostimulants, and fulvic acids for organic farming form part of those solutions. To see the context of the crop, you can consult the page on tomato cultivation with organic fertilisation and the page on greenhouse crops with biostimulants.
Sixth step: verification and adjustments after transplanting
In the first weeks after transplanting, check the state of rooting regularly. A well-established plant shows firm leaves, new growth and white roots that fill the root ball. If you observe brown roots, algae, an anaerobic smell or excessive drainage, reduce irrigation and improve aeration. These signs indicate problems of excess moisture or lack of oxygen in the root zone.
Carry out destructive sampling on some plants to assess the quantity and quality of the roots. Observe the distribution of the roots in the substrate and their colour. White, branched roots are a sign of good rooting. If the roots are scarce or brownish, review irrigation practices, temperature and fertilisation. Adjust management according to the findings.
Once strong rooting in greenhouse tomatoes has been confirmed, you can begin to increase fertilisation and above-ground growth. Remember that a well-developed root system is the basis of a productive plant. Maintain regular monitoring throughout the cycle to detect any problem in time.
Establishment checklist
- Firm leaves with uniform colour, without wilting in mid-morning.
- Presence of new growth at the apex.
- White roots visible at the base of the root ball and in the surrounding medium.
- Clear drainage, without odour and with pH and conductivity within the range set by the technician.
- Absence of algae, mould or waterlogged areas next to the plant.
- Uniformity between plants in the same irrigation block.
If several plants in the same sector fail at the same points, the problem is usually in the medium or in the irrigation of that sector and not in each individual plant. Locating the pattern is the first step to correcting it.
Related articles
Do you need professional help?
At Ecoganic in Spain, Europe, we offer Biostimulants, Organic fertilisers. Contact our team through the website.
Request your free quote
Regulation and market
Use only fertilisers, biostimulants and plant protection products authorised in your country and suited to your production system. Always confirm the product registration and the residue limits applicable to tomatoes in the destination market. Requirements vary from one country to another and from one customer to another, so it is advisable to verify the current requirements with your country's regulatory body and with your technical adviser before each cycle. Regulatory compliance is essential for the safety and marketability of the product.
Sowing and transplanting dates vary according to the region and the target market. Consult your technical adviser to adjust the production schedule. Traceability and the use of certified inputs are increasingly valued by buyers, especially in export markets.
Ecoganic holds organic certifications which are detailed on its website. You can also consult the trials and field results section to make informed decisions, always cross-checking the information with your technical adviser.
Frequently Asked Questions
How long does it take for tomato rooting to become established after transplanting?
There is no single timeframe, because it depends on temperature, humidity, the type of substrate or soil and irrigation management. In general, the first new roots and young leaf growth indicate that the plant has begun to root, and from that point on it should continue to be observed regularly. During this phase it is essential to maintain a suitable microclimate and to avoid excess water that could suffocate the roots. A well-rooted plant shows firm leaves and active white roots.
Which substrate is best for tomato rooting in a greenhouse?
There is no single substrate that is best in all cases; the choice depends on the production system and the resources available. Coconut fibre offers good aeration and water retention, but requires careful management of pH and electrical conductivity. A well-structured soil enriched with organic matter can also give good results. What matters is ensuring good drainage and an airy root environment.
How can I stimulate tomato rooting naturally?
Rooting is favoured above all by cultural practices: adequate irrigation, well-managed temperature and humidity, and a substrate or soil with good aeration. Biostimulants based on natural extracts or beneficial microorganisms and fulvic acids can contribute to root development, although their results depend on the crop, the water and the management. It is advisable to use authorised products and follow the manufacturer's instructions to avoid phytotoxicity problems.
What signs indicate rooting problems in greenhouse tomatoes?
Signs of poor rooting include wilted or yellowing leaves, slow growth, brown or necrotic roots, the presence of algae in the substrate and a bad smell. These symptoms usually indicate excess moisture, lack of oxygen, high salinity or some root health problem. Faced with these signs, it is necessary to adjust irrigation, improve aeration, review fertilisation and, if they persist, consult a technical adviser.
Is it better to grow in soil or in substrate to favour the roots?
Neither option is better in itself, since what matters is that the medium offers aeration, drainage and a stable supply of water and nutrients. Soil requires correcting compaction, salinity and structure before planting, while substrate requires finer control of irrigation, pH and conductivity. The decision depends on the facilities, the water available and each grower's management capacity.
When should fertilisation begin after transplanting?
It is usually prudent to wait until there are signs of root activity before increasing fertilisation. During the first days the young roots are sensitive to salts, and excessive concentration can delay establishment. Afterwards, nutrition is increased gradually, according to the water and substrate or soil analysis and the technical adviser's instructions.
What role do biostimulants play in tomato rooting?
Biostimulants can contribute to nutrient efficiency and tolerance to abiotic stress, two aspects that influence how the plant establishes itself after transplanting. They do not replace a good substrate, well-adjusted irrigation or quality seedlings, and they do not guarantee a specific result. The most reasonable approach is to introduce them within a management plan and check their effect with a control batch.